It feels like its been forever since I lasted posted on my blog.
Well, it has been forever.
I've been so busy the past few weeks. For starters, I changed schools, and I'm now finishing the school year with online schooling. It's been really hard dealing with school ever since I moved to Ohio 3 years ago, and this year it got to the point where I had to do something about it. I must say, I'm much happier now that I left that school and take online school. It's been a big change, but I'm totally up for it.
Another thing is that last weekend, I was in New York City! I took a little trip to see friends and family, but unfortunately, three days wasn't enough for me to really enjoy my visit. Also, it was freezing, so it made it hard for me to enjoy my trip! I'm soooo over this winter weather! Where's spring!?? You know, studies show that more people become depressed in the winter than in the summer, because of the weather! Well I don't blame them! It's been a long winter, full of grey skies, snow storms, and freezing cold temperatures. I think this has been the longest winter ever! I'm counting down the days until spring, who's with me?
I have some more makeup tutorials, which I will have posted very soon. Also, I have a lot more reviews coming up, and I've been thinking about posting some "Outfit of the Days," so I'm super excited about that!
I'm also going to start explaining a little more about myself. I feel like I haven't really told you guys who I really am, and it's time I start showing myself through my blog.
Stay posted, I promise I will start posting often again!
xoxo, Andrea
Wednesday, February 23, 2011


Sunday, January 23, 2011
Gold Rush makeup Tutorial
 Hey Guys! Here's another tutorial. I bought some Ulta Minerals Eye shadows a while ago but haven't really used them, so I decided to make a tutorial using some of them and see how I like them. The result, I'm going to Ulta to get more.
Enjoy : )
Products I used:
Step 1: Prime your eyes with Too Faced Shadow Insurance Eye Shadow Primer. Make sure to prime your lower lid too.
Step 2: Using an eye shadow brush, pat Ulta Minerals Powder Eye Shadow in Gold in the lid. Be sure to tap off the excess eye shadow off your brush before patting it on since it's a loose eye shadow.


Step 3: Using a crease brush, apply Mac All That Glitters Eye Shadow into your crease and outer corner, blending the two colors together.


Step 4: Apply a Silk colored eye shadow on your brow bone and inner corner. I used Victoria's Secret Beauty Rush Wet/Dry Eye Shadow in Peachy Jean.


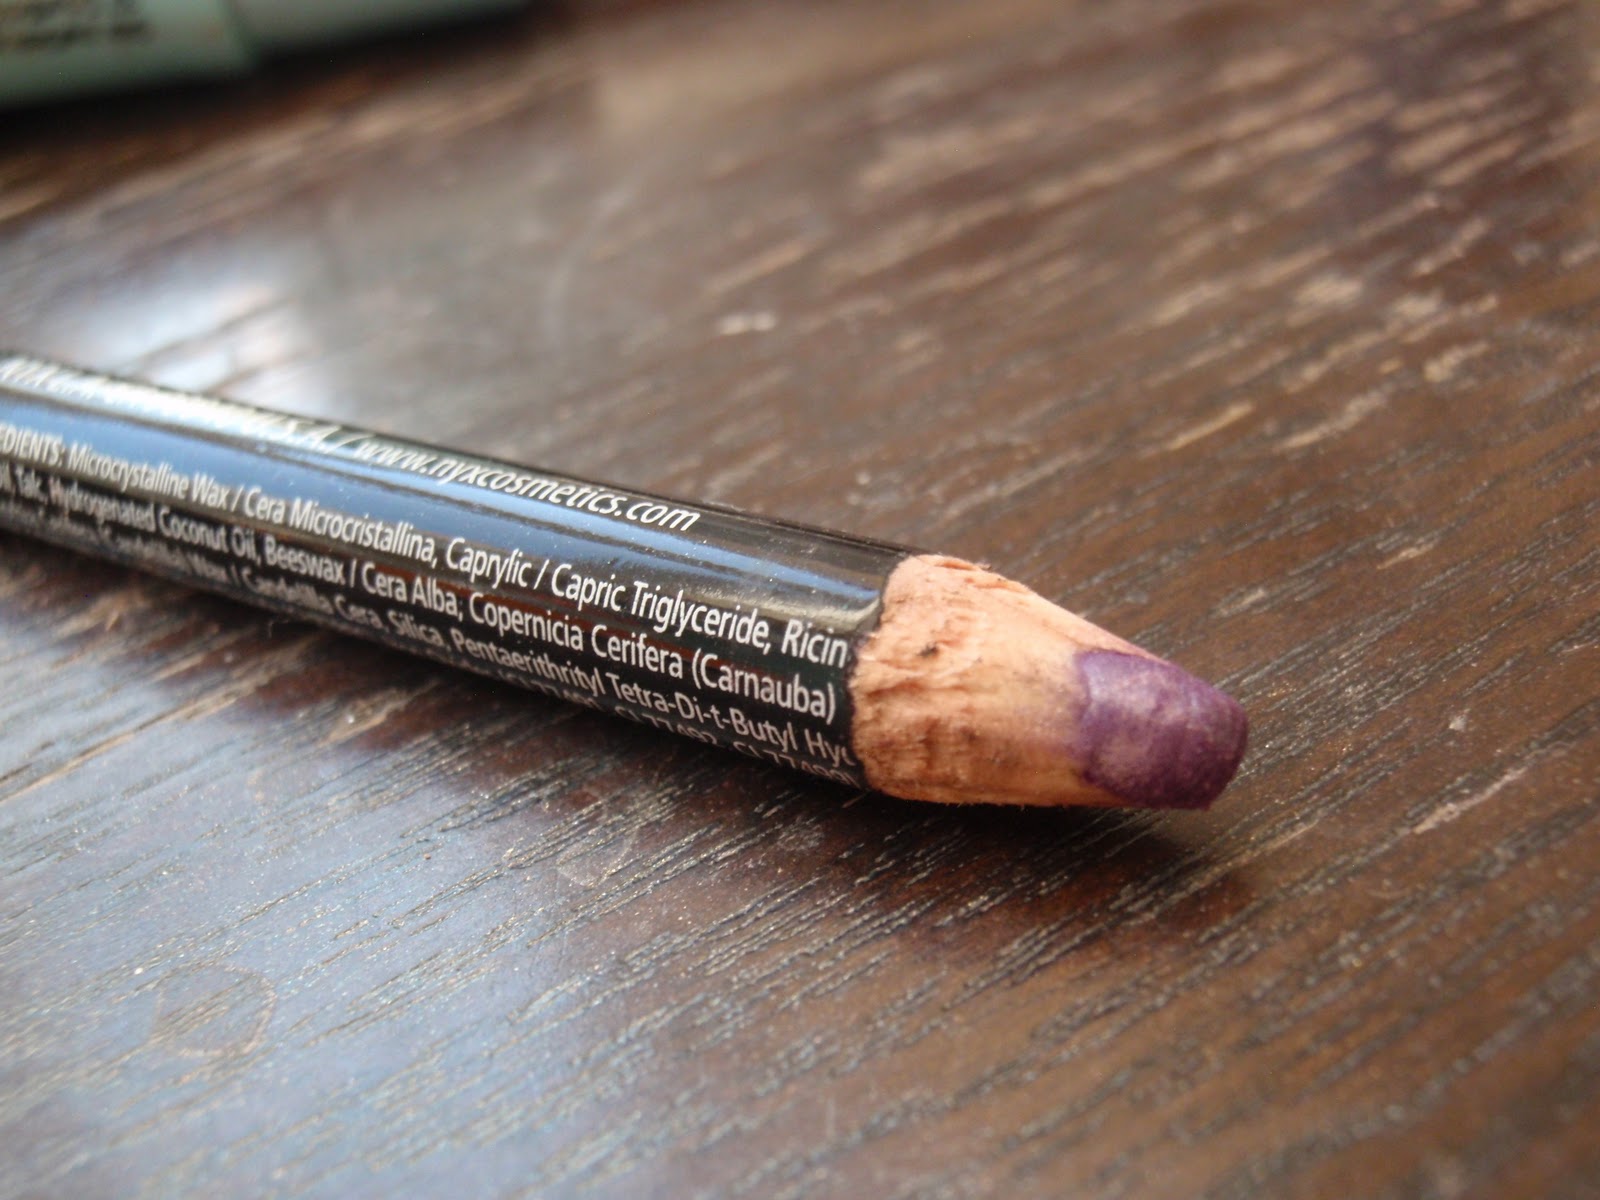
Step 5: Line your lower lash line with a purple eye liner. I used NYX Eye Liner Pencil in Purple.

Step 6: Using an angled eye liner brush, apply Ulta Minerals Powder Eye Shadow in Wisteria over the purple eye liner. This will make the purple more vibrant.

Step 7: Liner your upper lashes with a black eye liner. I used NYX Eye Liner Pencil in Black.

Step 8: Apply your mascara on your top and bottom lashes, and you're all done!
Saturday, January 22, 2011
Pop of Blue Summer Eyes Tutorial
 Hey guys. I feel like it's been forever since I last made a tutorial. These past two days school was closed because of the snow we got, so I thought, what better way to spend my snow day than to make some more tutorials! (No sarcasm, I swear!) I wanted to make a tutorial that added more color, but would also be wearable for an everyday look. This look reminded me of summer. I don't know if it was because of the blue, or because when I did this tutorial, the window shades were open and the sun was shining right in my room, making it feel like it was 100 degrees. I don't know, but whatever it was, it brought back memories of summer. I hope you enjoy this nostalgic Pop of Blue Summer eyes.
: )
Products I used:
Step 1: Prime your lids. I used Too Faced Shadow Insurance, but any base or primer will work.

Step 2: Using an eye shadow brush, apply the top right eye shadow from the NYX eye shadow palette onto your lid. Then, using a fluffy eye shadow brush, apply the top left eye shadow from the NYX eye shadow palette onto your brow bone.


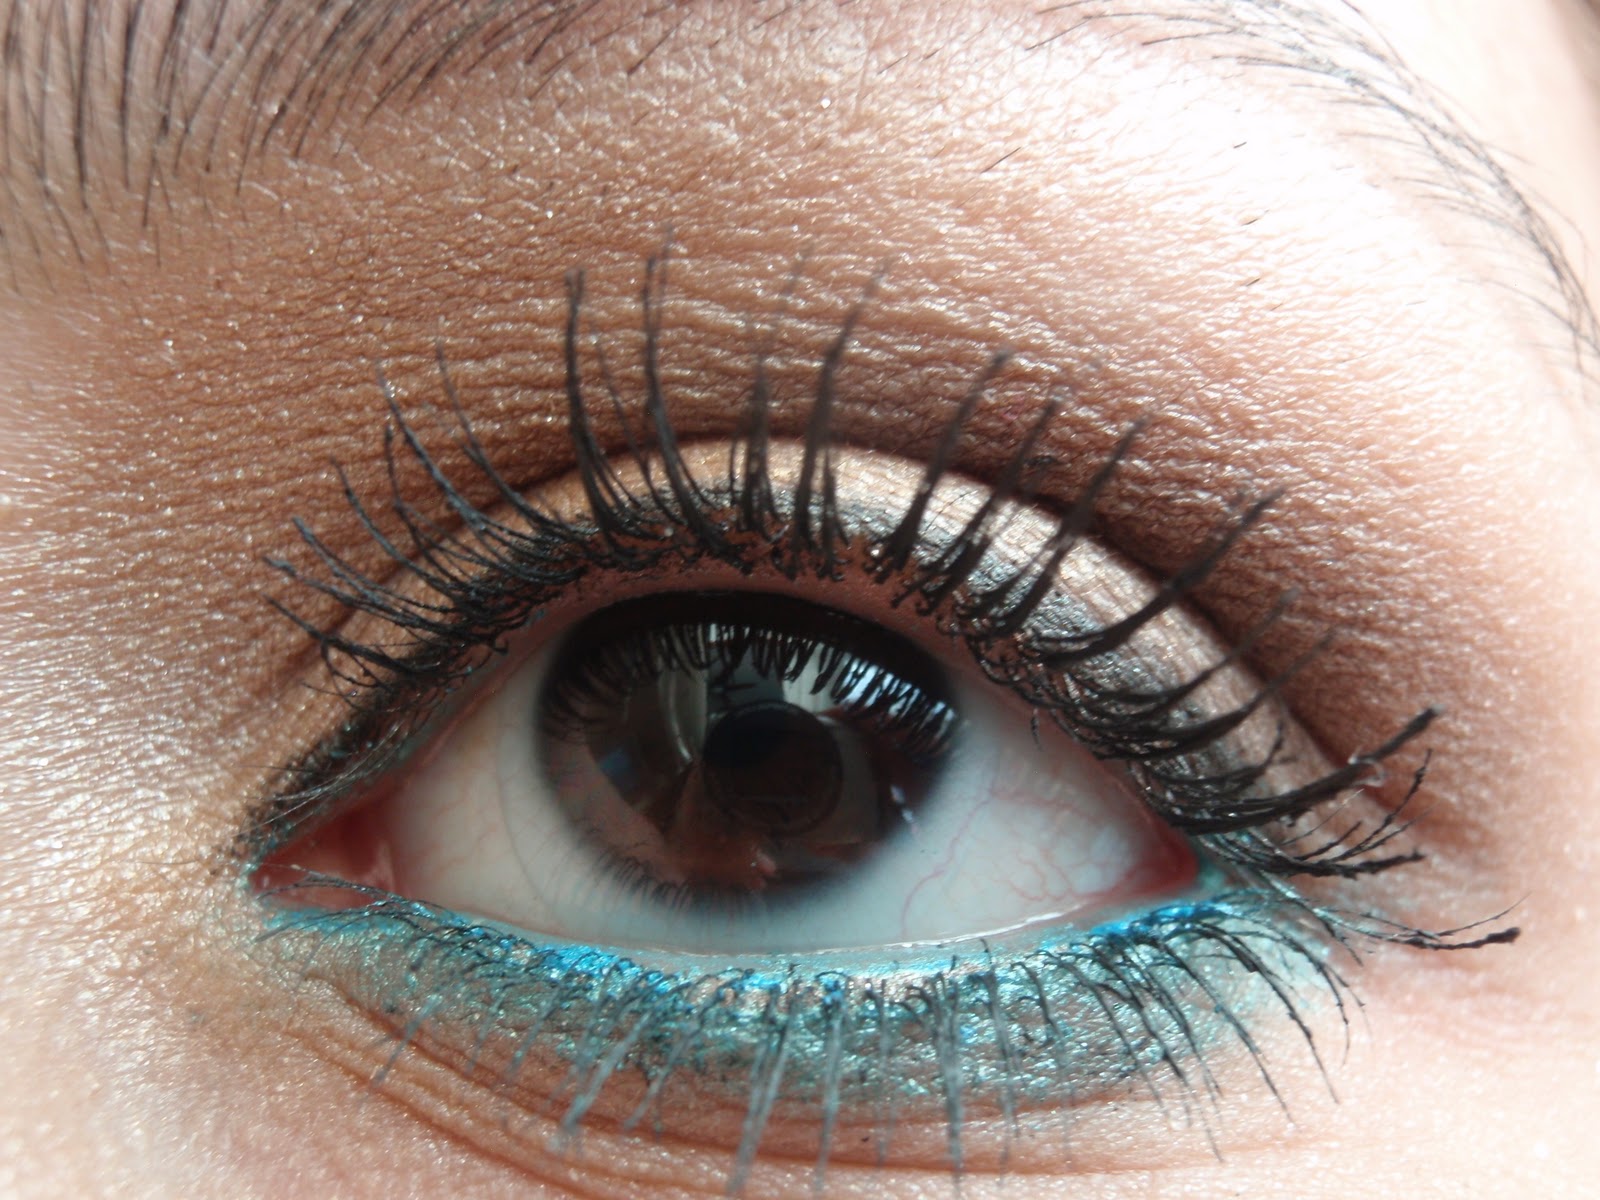
I hope you guys like this tutorial! I think it would be such a cute look for the summer, so I know it's a little too early for this look, but we can pretend it's summer for now.
: )
Sunday, January 16, 2011

French Lace

French Lace by AndreaModernGlow on Polyvore.com
New York City fashion meets French boutique.
Very great outfit for the sophisticated, the flirty, and the ones who want to have fun.
Tuesday, January 11, 2011
Got Juicy Shades?
Hey Guys!
Am I the only one that is completely done with winter and ready for the hot sun? Why not make winter go by faster by preparing your spring/summer wardrobe? I've listed two brand new Juicy Couture Sunglasses that just scream glamor and sun!


 I love Juicy Couture, I think they have such cute products, and now is your chance to get these great sunglasses and prepare for summer 2011!
Am I the only one that is completely done with winter and ready for the hot sun? Why not make winter go by faster by preparing your spring/summer wardrobe? I've listed two brand new Juicy Couture Sunglasses that just scream glamor and sun!


These are such cute sunglasses!
 I love Juicy Couture, I think they have such cute products, and now is your chance to get these great sunglasses and prepare for summer 2011!
Saturday, January 8, 2011
Clinique Double The Kisses


Hey guys! I have a lot of new makeup products, and I'm so excited to try them all out and let you guys know what are some of my favorites!
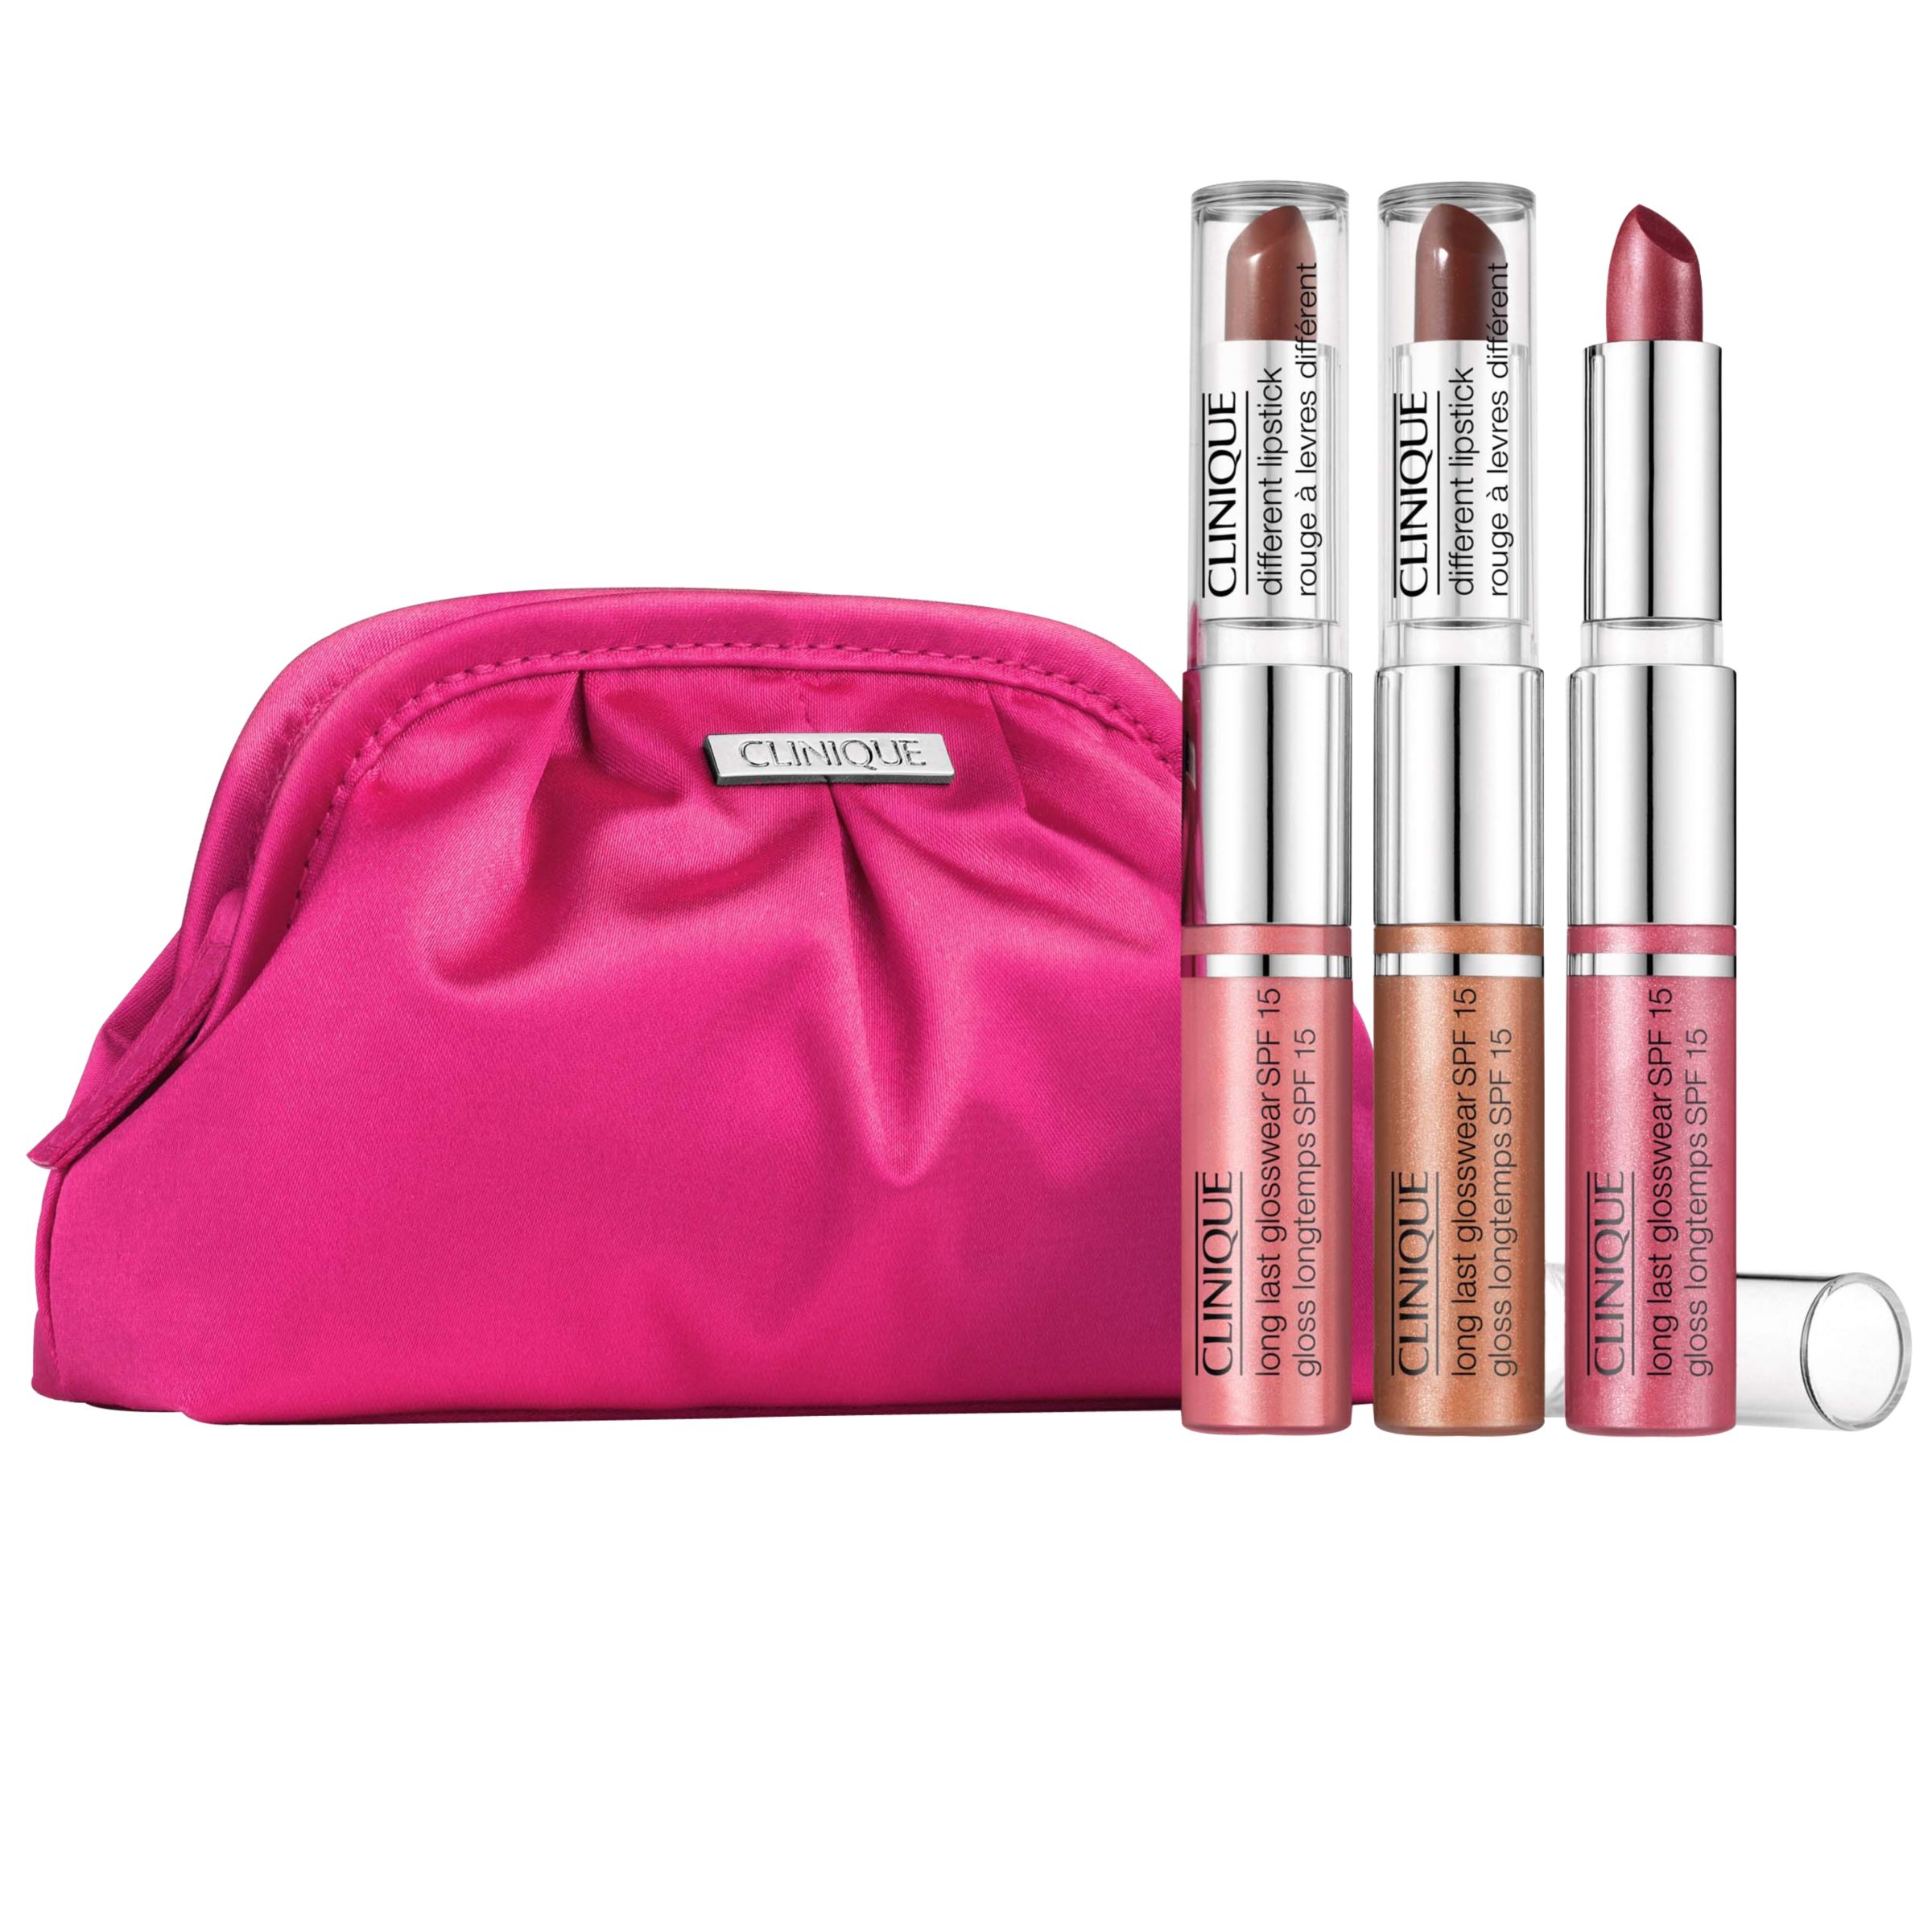
Something I really liked was the Clinique Double the Kisses Lip Set. It came with three lipsticks and three lip glosses. The colors are so pretty and the colors look great on anybody. Here the swatches, the lipsticks on the left and the lip glosses on the right:

The colors are very luscious and so pretty! You can buy this set for $25 at Sephora, but get it fast! It's limited edition!
Friday, December 31, 2010
SOLD- Brand New COACH and JUICY COUTURE Bags!
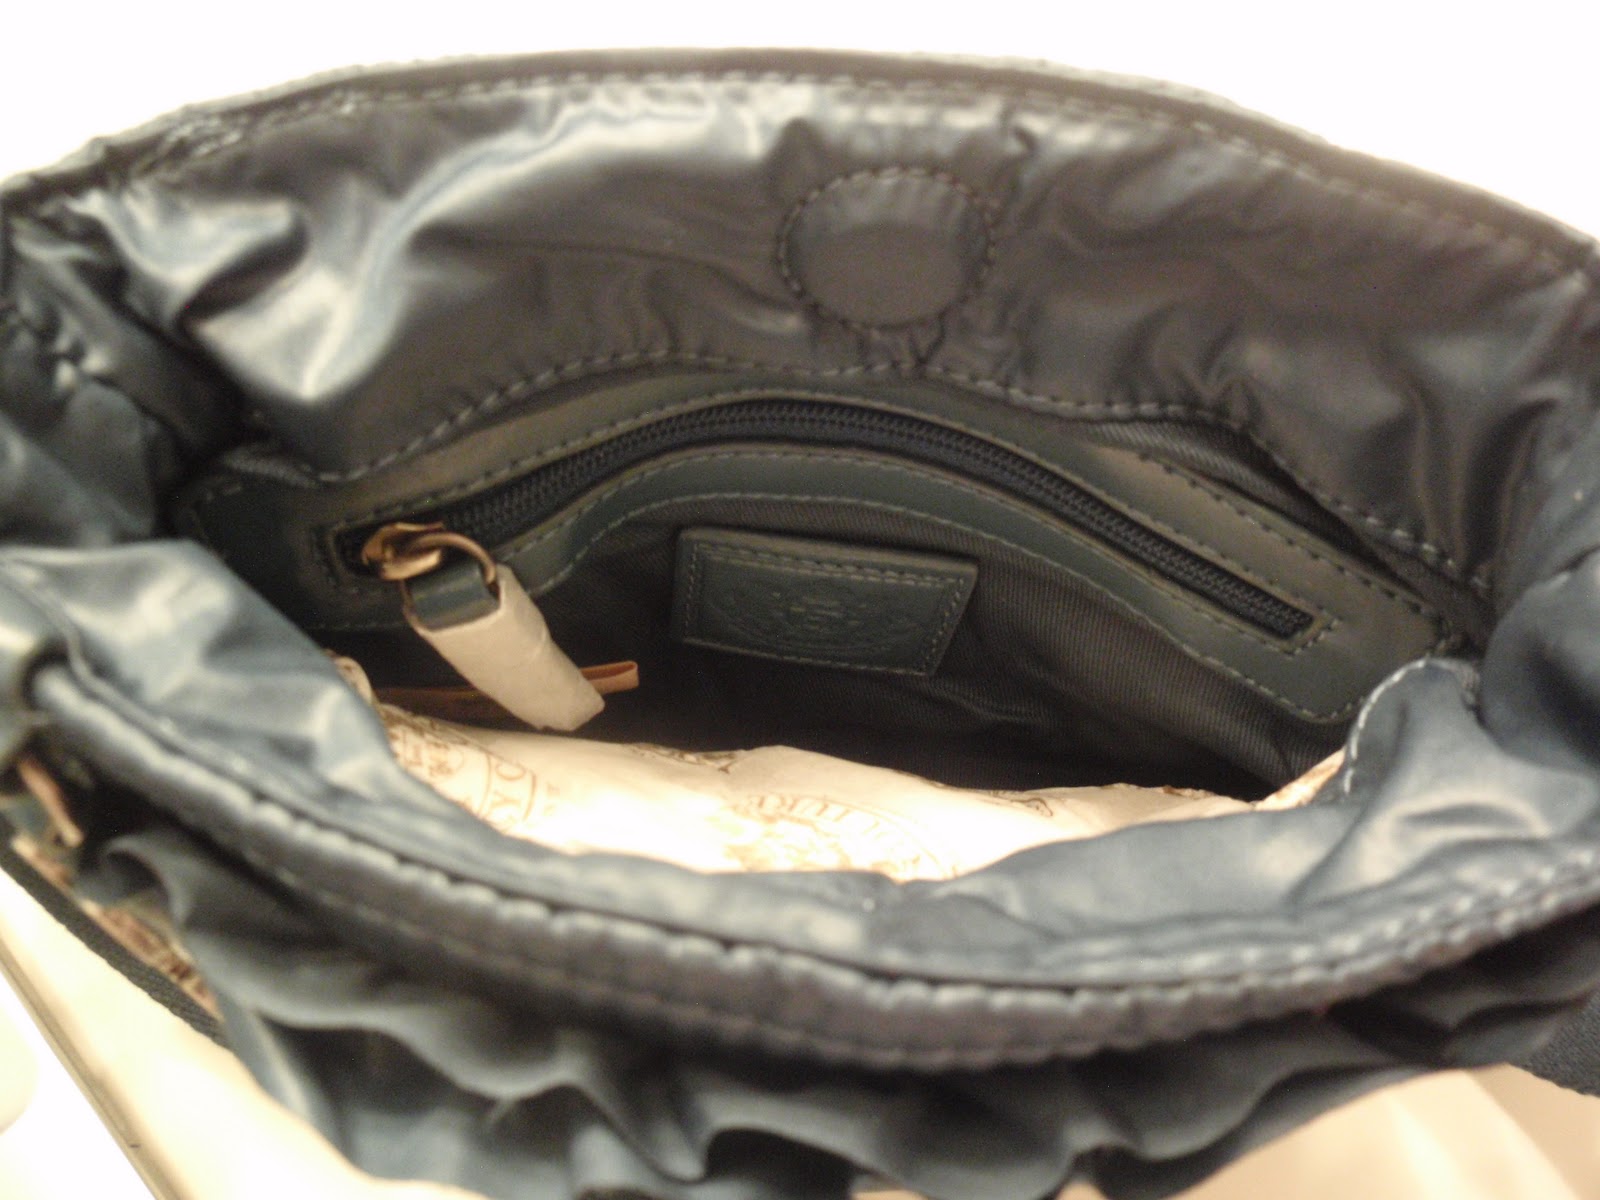
Hey guys! Boy do I have news for you! If you're interested in buying a BRAND NEW Coach Swingpack OR and BRAND NEW Juicy Couture Cross-Body bag, you're in luck! I have now listed these two items on Ebay. They are both available for bidding, or for right-away purchase. They were bought at a department store and are brand-spanking new!


I think these bags are Ahh-Dorable!
Click here to see the COACH bag!


I will have more items available soon!
Saturday, December 25, 2010
Wanna Make Someone's Day?
Wanna make someone's day? Give them jewelry! Christmas is such a hectic time of the year for my family, especially my mom. With all the food planning, and the gift wrapping, and the guest entertaining, it's amazing how she can handle all these tasks without losing it. A few weeks ago, she was looking at these rings online. They were from Trina Turk She kept hinting that she really wanted these rings, but then after a few days of looking at them and showing everyone, she gave up (or at least she thought she gave up). We surprised her on Christmas morning with not only one, but both of the rings she wanted. Believe me, she was VERY surprised! But she deserved it. After all, Santa Claus deserves a few gifts, right?


The rings we got her were from Trina Turk. All of their rings are very fashionable, modern, and definitely make a statement. One of the rings was the disco ball ring. It's elegant with a modern twist, and will look great with anything!

The other ring was the resin ball ring. If I had to describe this ring with one word, it would be unique. The ring we bought my mom was in the color Coral, which is so pretty! Also, the band is imprinted with a design that really catches your eye.

These rings were both on sale too, so it was a great deal, and the smile on my mom's face was definitely worth it! Check these rings out at TrinaTurk.com!
Friday, December 24, 2010
Finger Paints Nail Polish Review!
 I love getting a manicure (who doesn't, right?). But when I don't have time to go to the nail salon, I try my best to give myself a good at-home manicure, and in order to do that, you need a good quality nail polish. I was always having the same problems with my nail polishes. Either they were too thick, too liquidy, or when they would dry, there would be tiny air bubbles all over my nail. Trust me, that's not attractive. Anyway, I was at Sally Beauty Supply, and as I was making my way to the cash register, the "Buy 2, get 1 free" sign over the nail polishes caught my eye. Clearly I had to get some.
 I bought a few nail polishes from the brand Finger Paints. Each nail polish costs about $4.99, but because of the deal Sally Beauty Supply had, I got three for the price of two. I've tried two of the colors I bought, but I really liked one in particular, and that is the color "Natural Talent". It is a light pink, very natural looking color. It can be used as the base color for a French manicure. I put two coats (the color wasn't very visible with just one coat) and I must say I'm impressed. The nail polish wasn't too thick or thin, so it was really easy to apply. Also, no air bubbles! It dried up in about five minutes, and it was nice and smooth.
Overall, I really liked this nail polish! I definitely recommend this product, so check it out at Sally Beauty Supply.
Subscribe to:
Posts (Atom)